How to make your own soap
Here is a quick tutorial about making your own vegetable-based soap. This is by no means an exhaustive tutorial, but it should at least get you started with making your own batch!
Supplies:
- A cardboard or wooden box around 9 ½x12”
- A glass bowl
- A kitchen scale that measures in grams.
- 200 grams lye (ordered from Certified Lye)
- 1lbs 3 oz water
- 1 lbs coconut oil
- 1 lbs 5 oz olive oil
- 14 oz palm oil
- Essential oils of your choice. (5-7 tsp)
- A kitchen thermometer
- A wooden spoon or an electric mixer
- An enameled pot.
- “The Soapmaker’s Companion”
- A large trash bag
A couple notes on supplies:
Most of the supplies for soapmaking can easily be found around the house or at the grocery store. The hardest ingredients, for me, is the palm and coconut oil. It is prohibitively expensive at health food stores. Your best bet may be finding a soapmaking business near you. Thankfully, the kind ladies at Denali Dreams Soap Company sell coconut and palm oil for 2.50/lbs here in Anchorage. Try to find a similar source. Essential oils can also be very expensive, and I have yet to find an affordable source for essential oils.
You can no longer find lye in most stores, as it is evidently an ingredient in the meth making process. You’ll likely have to order it online.
One other thing I would strongly recommend is The Soapmakers’ Companion from Susan Miller Cavitch. It is full of useful information, ideas, and recipes. At the very least, see if you can borrow it from your library.
Setup:
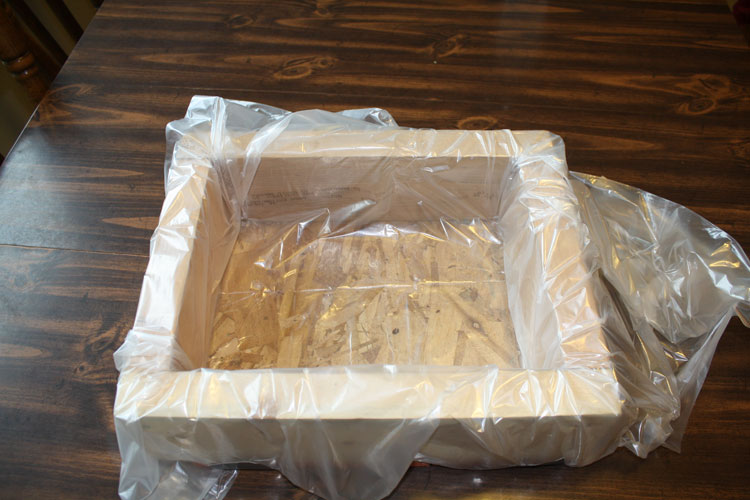
1. Line your cardboard box with the garbage bag. Tape the edges so that it will stay in place. Make sure there are very few wrinkles in the bag. This is where you’ll be pouring your soap mixture.
The Process:
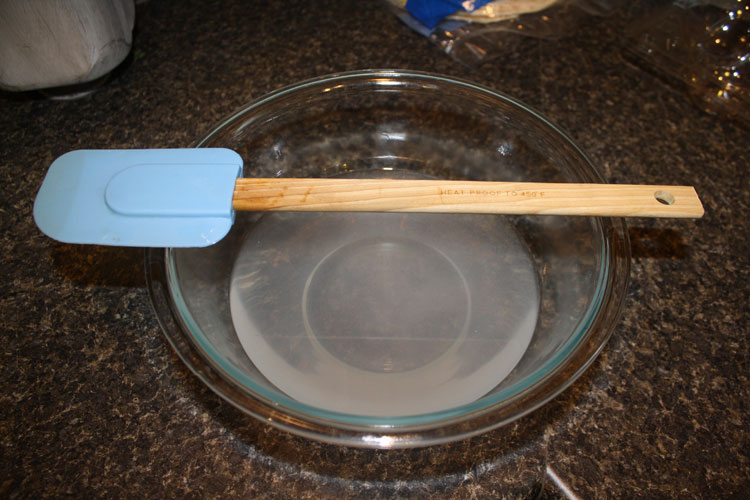
1. Measure out your water and add it to the glass bowl. Remember, for soapmaking you need to measure out your water by weight, not by volume.
2. Measure out your lye in a separate container. Once you have the appropriate amount of lye, add the lye to the water while stirring vigioursly with a rubber spatula. (Never add water to lye!! It is dangerous!) The water will immediately get very hot, and some irritating fumes will be released briefly. It’s probably best to hold your breath for a few seconds after you’ve mixed in the lye. Set lye solution aside.
3. Melt coconut and palm oils until completely liquid. Then add your olive oil to bring down the temperature.
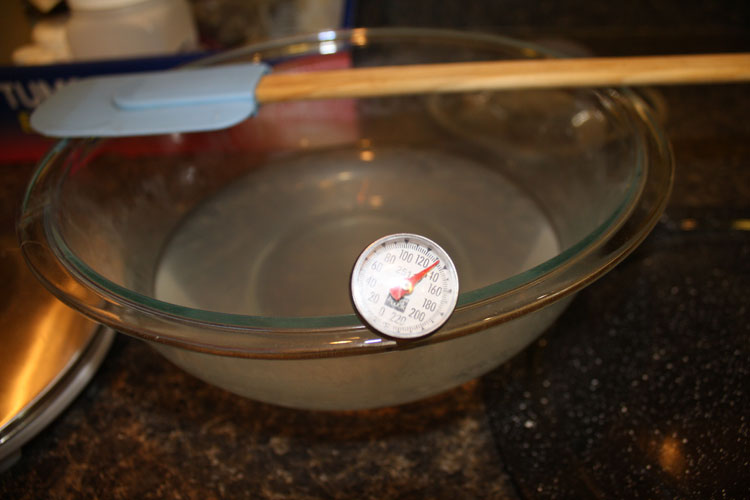
4. For the next stage, your job is to wait and frequently measure the temperature of both your lye solution and your oils. The soap-making reaction happens best at specific temperatures. While the lye and oils will not cool at the same rate, I find it best to wait to mix the two ingredients until both solutions are somewhere between 100-105 F.
5. Once your lye and your oils are both around 100 F, slowly pour the lye solution into the oils while stirring or mixing vigorously. This is the most critical step. If you solutions are too warm or cold, or you do not stir long enough, your soap will not set up correctly.
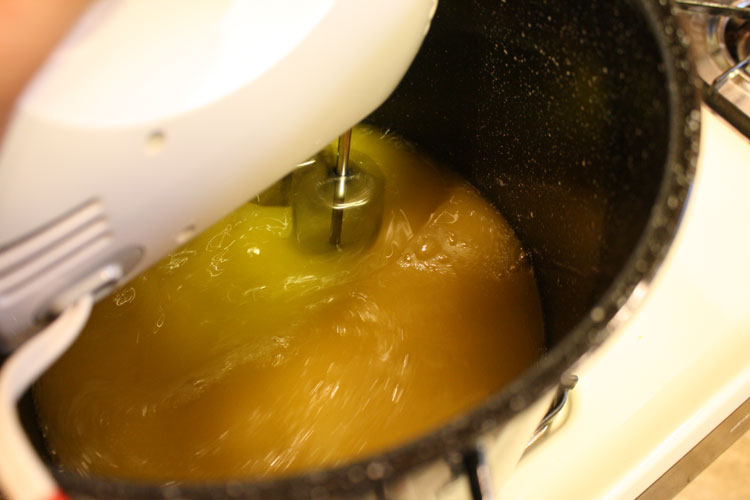
6. Keep vigorously stirring for at least 10 minutes (15-20 is probably better). The first time I made soap, I stirred it by hand for 40 minutes and the soap turned out great. Since then, I’ve begun using an electric mixer and only mix it for 10-15 minutes. Remember though, you need your soap mixture to be mixed as thoroughly as possible.
7. You’ll know when your soap is done when the soap leaves a “trace” on top. Take your spoon or mixer out of the soap mixture and let a few drops fall onto the surface of the solution. The drops should leave a faint pattern or “trace” on the surface of the mixture. If you have any doubts about whether your mixture has reached the “trace” stage, keep stirring.
8. Once your soap has reached the “trace” stage, it’s time to add the essential oils and any other additives. Add and keep mixing until fully distributed into your soap mixture (another 3 minutes).
A note about additives:
I’ve added everything from calendula flowers to coffee grounds to my soap to add color, texture, or exfoliating properties. Some have been worked better than others. Remember that soap making is a chemical process. As such, there’s no guarantee that adding other ingredients will be successful.
9. Pour your mixture into the lined cardboard box.
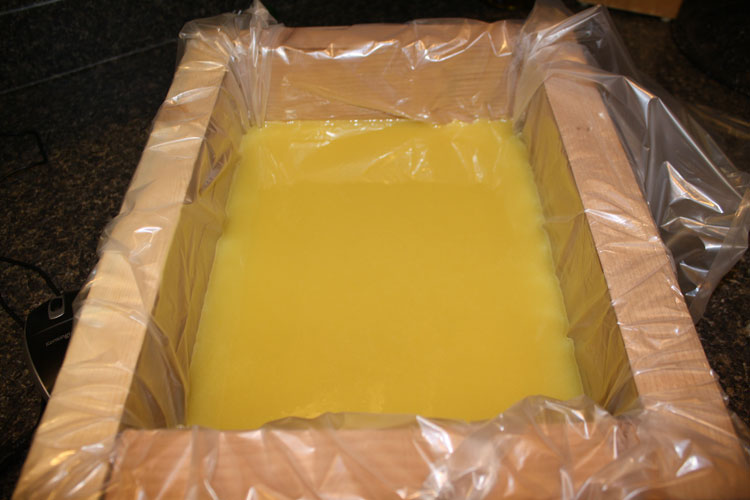
10. Cover with another piece of cardboard or wood and a few towels. Let mixture sit for twenty-four hours in a warm place. During this time, the mixture will actually reheat itself and solidify into soap. After twenty-four hours, the soap will still be very soft. Wait at least a week to cut the soap. (Don’t wait more than a week or two, though, or your soap may be much more difficult to cut).
A note about soda ash:
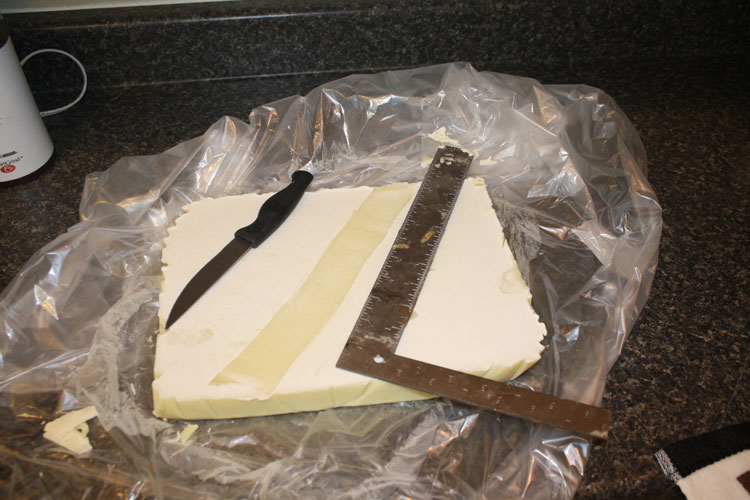
Often when you make soap, and whitish/gray substance forms on the top of your soap. This is called soda ash. While it’s not necessarily harmful, it’s a good idea to scrape it off before using your soap. You can see the soda ash on the picture below, and where I have scraped a strip of it off.
10. After cutting your soap into bars, let them age in the open air for a month. This will make a harder bar that will last longer.
Enjoy!

[…] finished putting together a tutorial about making your own soap. You can check in out here. Comments […]
Hello! Great tutorial! Quick question, what are the temperature ranges for the lye/water solution and the oils. I’m afraid my oil was too hot(120 degrees) and my lye was too cold (95 degrees)! Thanks again!
I tend to be fairly lenient with my temperatures. I usually mix them when they’re both about 105 degrees, but frankly, I have mixed them at a range of temperatures and the soap has always set up well. Let me know how your batch turns out!