Erik
Raised garden beds
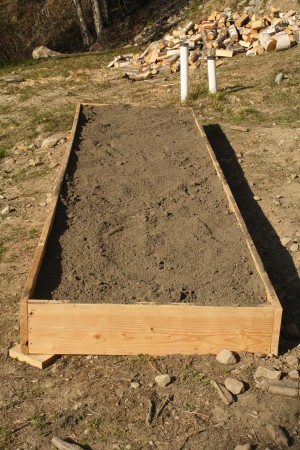
I just finished putting in my raised garden beds, and wrote up a quick explanation of my process. You can find it here!
Spring Greens
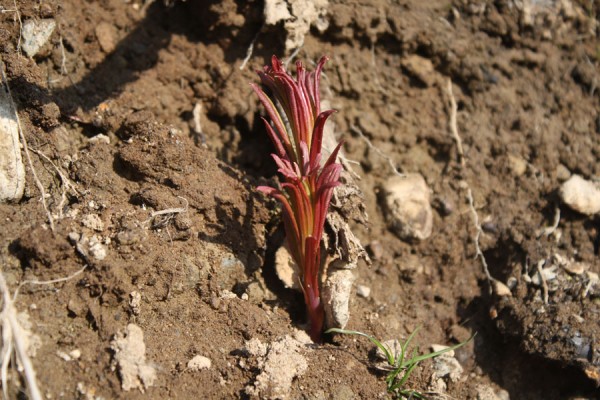
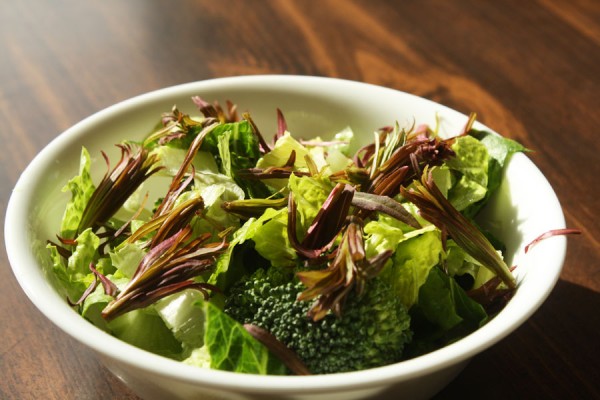
A harvest from the garden is still a while off, but we’ve been eating fresh greens for about twoweeks now. Fireweed is edible when it’s young. Harvest the plants right after they emerge from the ground when they still look like a bundle of leaves. Eat the leaves, but avoid the stem as it tends to be bitter. The boys have been munching on them while they play in the yard, and they make a terrific garnish on a salad: they’re slightly bitter like European greens, but not overpowering.
Summer dresses
Over the years, Ashlee has become more interested and adept at sewing. Her latest project was a few summer dresses she sewed without a pattern — just ideas she had in her head. She managed to sew all three with River, Aurora, and our nephew Summit in tow!
[slideshow id=1 w=600]
Moose summer sausage
 This weekend my brother and I made 55 lbs of moose summer sausage. Below are my notes and a little bit about the process:
We made two batches of summer sausage. The first was mixed 50/50 with pork shoulder. The second batch had 1 part pork for 2 parts moose. We used a the Excalibur seasoning from Alaska Butcher Supply. They’re great people and really helpful. We chose not to add any nitrates to our sausage. While that increases the chance of spoilage, our processing and meat is done very cleanly. We won’t be able to put a stick of the sausage in a backpack for a week like the store-bought stuff, but it is worth it not to bomb our guts with preservatives.
We ground the pork and moose separately, then mixed them together, along with the seasoning, in the aforementioned ratios. Then we ground the meat a second time once the seasoning was added. We were told to grind it a second time using a smaller sized grinding plate, but the meat just wasn’t moving through it efficiently so we used the same sized plate. The texture came out fine.
After we ground the meat, we used a sausage stuffer to stuff the casings. We found that one needed to push the sausage into the casing fairly hard to remove the air pockets. After the sausage was cased, we let it warm up to room temperature until it was time to put it in the smokers. We put the sausage in the smoker at the following temperature for the following times:
- 120 F for 1.5 hours
- 140 for 1 hour
- 160 for 1/2 hour
- 180 until internal temp of sausage reached 154F.
We smoked it heavily during the process with hickory smoke. Because of the fibrous casings, the sausage still only retained a subtle smoke flavor. After the sausage reached 154F internal temperature, we immediately put the sausage into cold water until the internal temp was about 90F. We put the sausage in the fridge and vacuum sealed it the next day.
Notes:
- I enjoyed the sausage with 2 parts moose better. It tasted more like I expected it would
- The seasoning was mediocre. It still tastes good, but next time I’ll experiment with my own recipe.
- The homemade smoker we use does not have very even temperature, so the sausages on the outside actually got overcooked. It made the texture of the sausage near the casing dry and somewhat crumbly. Lesson learned.
Snow White’s very bad day
Yesterday one of our chickens, Snow White, was attacked by a dog. The dog didn’t kill her, but she had a deep puncture wound on her back and a lot of skin missing behind one of her legs. Normally, we wouldn’t have cared that much, but Snowflake is the family’s favorite chicken. She likes to be held, will perch on your shoulder, and is very docile. (Yes, I realize that the previous sentence makes me sound like a crazy chicken person.)
We isolated Snow White from the rest of the chickens until we decided what to do. She was pretty injured, and her wounds did not look like they would heal easily. We thought it might be best to try to stitch her up, especially the wound behind her leg. We even put a towel on the deck and had saline solution, a needle, and thread ready. As I held her while Ashlee readied the needle, we decided we couldn’t go through with it, and would take the chicken to the vet the next day.
First off, I’m a little embarrassed. We took a $2.50 chicken to the vet for a bill that will be substantial, but I just couldn’t resist my sons’ and my wife’s puppy-dog looks. The vet said she’ll probably be fine. She won’t get stitches and we’ll be giving her antibiotics and putting cream on the wounds. We’ll have to isolate her, because we won’t be eating her eggs while she’s on antibiotics.
And that is the story of Snow White’s very bad day.
Way too much snow
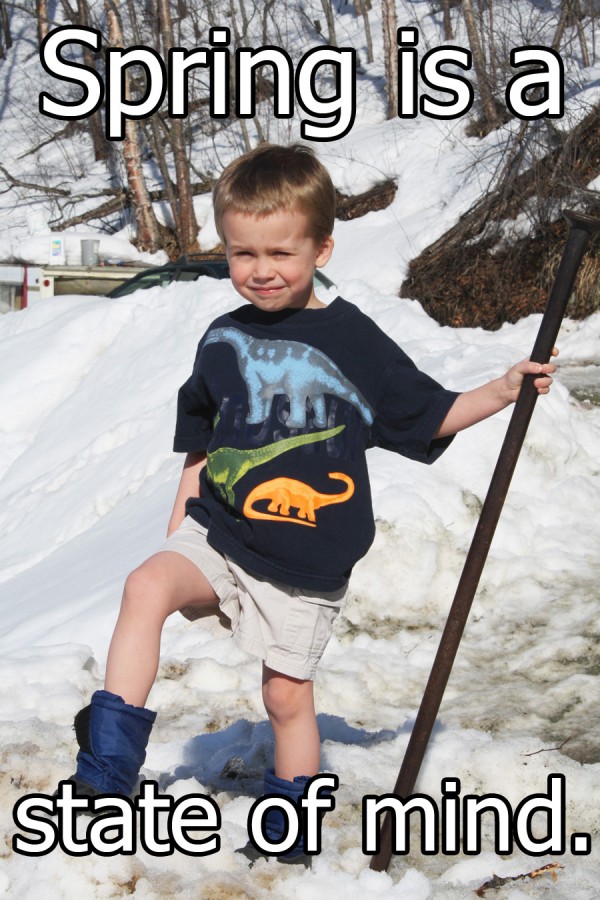
Today we broke the Anchorage snowfall record. As of right now, we’ve received 133.6 inches of snow this winter. That’s over 11 feet. Today Alaskans, cabin-crazed from the winter, are all talking excitedly about how we broke the record. I’m thinking about my garden and bees and feeling like Scrooge. River, however, is undeterred and has welcomed spring:
Time to turn off the lights, ladies.
 This week those of us living in southcentral Alaska have 14 hours of daylight. That means our chickens no longer need supplemental light. Chickens lay best when they get at least 14-16 hours a day of sunlight. We reach that milestone this week, so turn off those lights and save yourself some money! Those of you living in the area know we haven’t need heat lamps for a while now. My heat lamp has been off for about a month and the solar heating from the sun, and the heat of the chickens, has been more than enough to keep the coop above freezing.
Make a seed organizer for under $10
I just put up a tutorial about how to make a seed organizer like the one above. You can find it here. I hope you enjoy!
A Guide to Starting Seeds and Planting in Alaska
I recently got a message asking for advice regarding putting in a garden and starting seeds. I was so thrilled to be asked advice, that I’m writing a whole post about it. After all, it’s time to start seriously thinking about garden plans for the coming summer.
Most seeds need to be planted in pots long before the garden is ready. In order to grow varieties besides the fertilizer-drenched options at the local box store or greenhouse, you’ll need to think about picking out seeds from local seeds racks, or ordering from online seed companies.
Seed Planting Calendar:
Below is a general planting calendar for starting your seeds indoors. Keep in mind:you will likely want to stagger your plantings. In other words, plant a few seeds a week over a couple of weeks. That way you’ll be able to harvest continually and not end up with 200 lbs of cabbage at once!
Jan/February
- Bulb Onions (1-2″ cell packs)
Beginning of March
- Celery (4″ pots, may need to transplant into larger pots before placing outdoors)
Mid-April
- Cabbage/Brocolli/Brussel Sprouts (6-pack deep cell-packs)
- Lettuce (2″ cell packs)
May 1st:
- Peppers/Cucumbers/Tomatoes (4″ pots)
- Corn (4″ pots)
Plant directly in the garden by Memorial Day:
- Peas
- Carrots
- Kale
- Roots crops (turnips, rutabagas, beets)
- Green onions
- Salad mix
- Spinach
- Potatoes
Soil for Your Seeds:
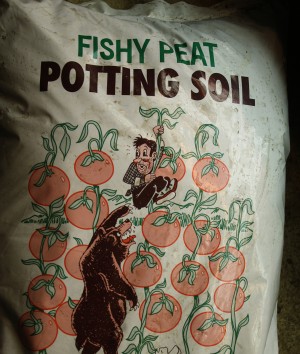
Many books say that you need sterilized soil for your seeds. I think that’s nonsense. In Alaska, I create a mixture of half topsoil and half local potting soil called Fishy Peat. You can find it at Alaska Mill and Feed in Anchorage, or Budget Feed in Palmer. I find that it contains a little too much peat — it can get easily water-logged — so I like to mix it with topsoil that tends to contain more sand. Soil should drain well but retain moisture. It should contain enough nutrients to give your plant babies a good start! Any mixture of topsoil, potting soil, and finished compost should work just fine.
**NOTE: I have tried using the MiracleGro “organic” potting soil before. Don’t bother. My plants never really thrive in the stuff.
Click below for the next page!
The Northern Lights
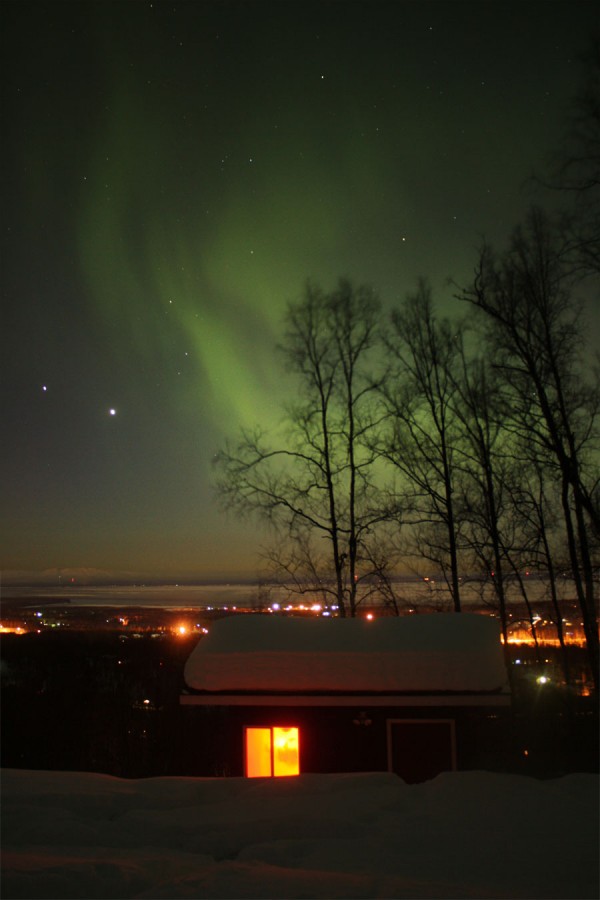
There was a big solar flare this week, and while I missed the best of the light show, I did get a few pictures of the Northern Lights. Enjoy the picture below ofthe aurora above our chicken coop.
